

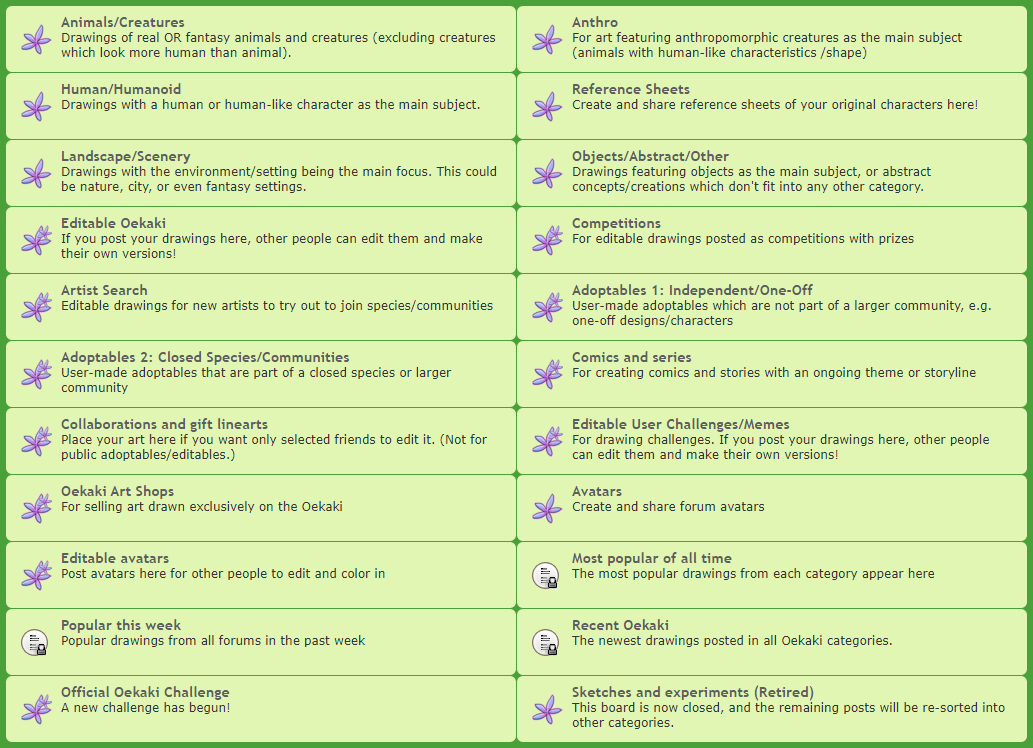
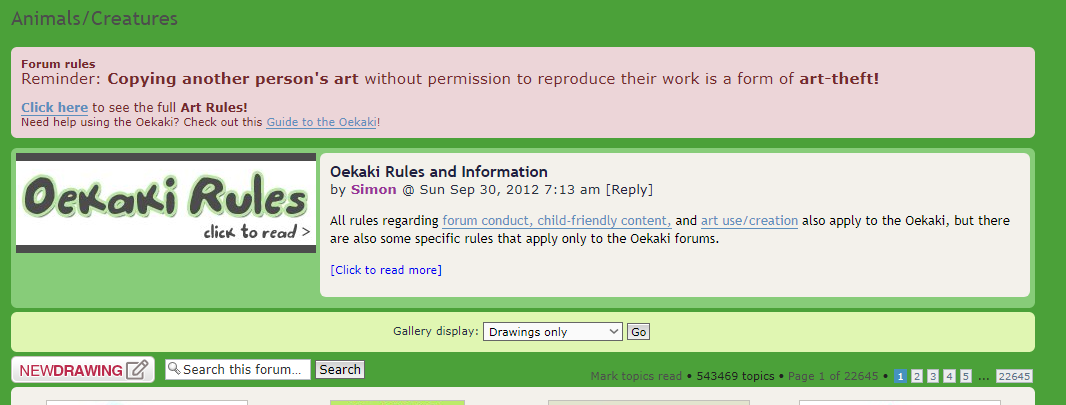
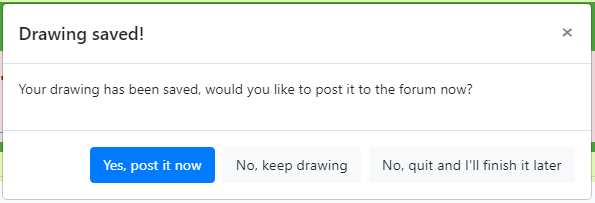
- oekaki breakdown
- learn how to use the forums!
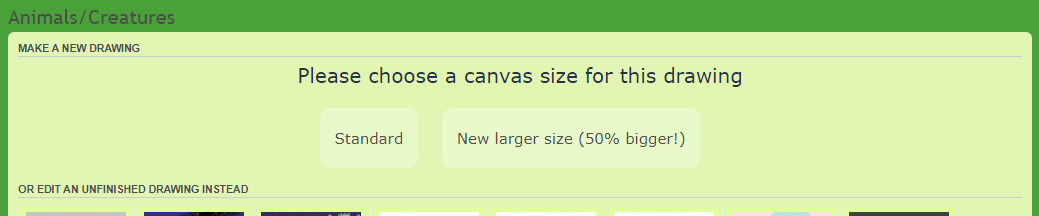
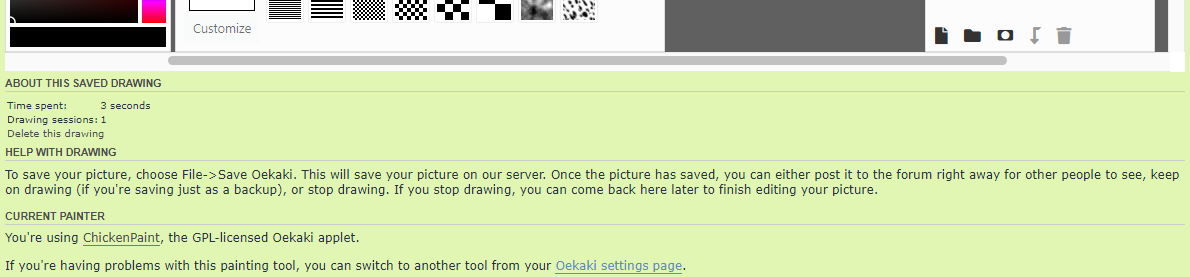
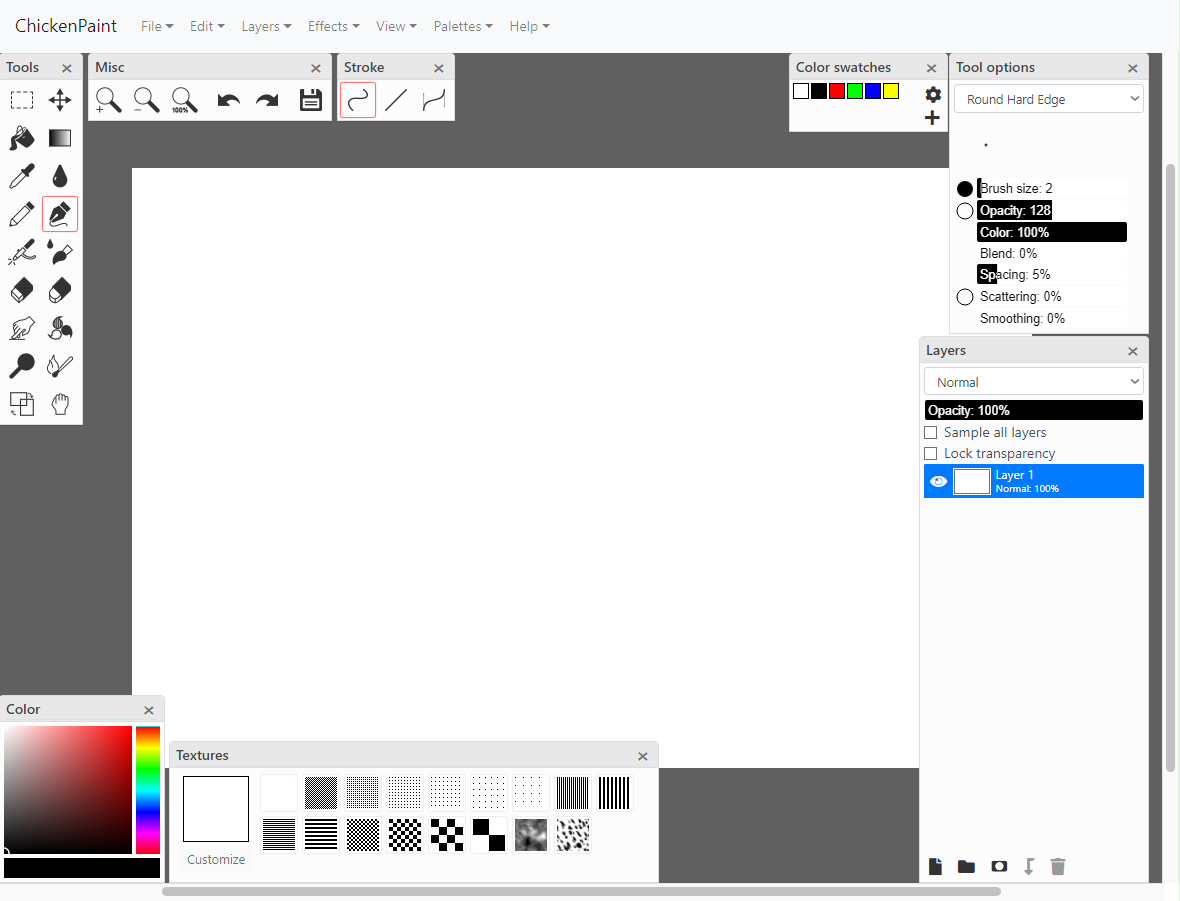
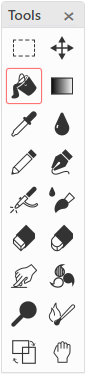
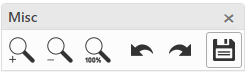
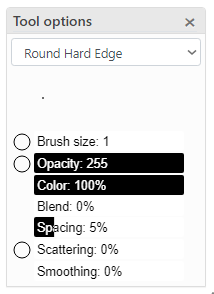
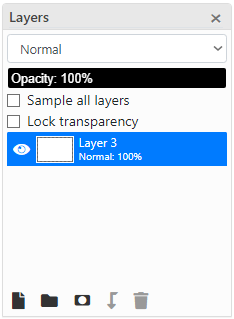
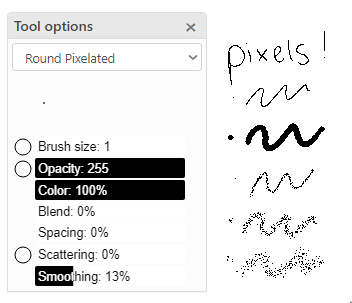
- chickenpaint breakdown
- learn how to use the program!
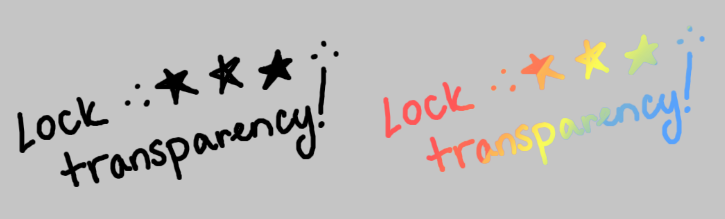
- fundamentals
- the most important tips for using oekaki!
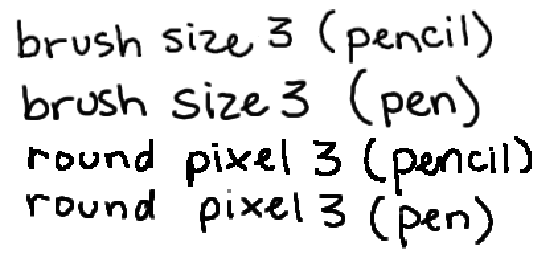
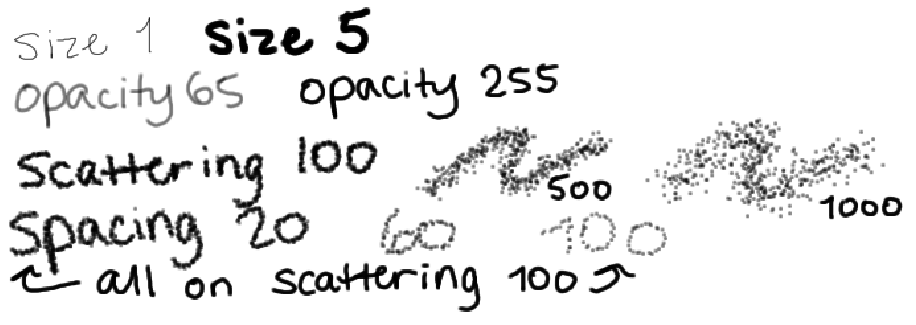
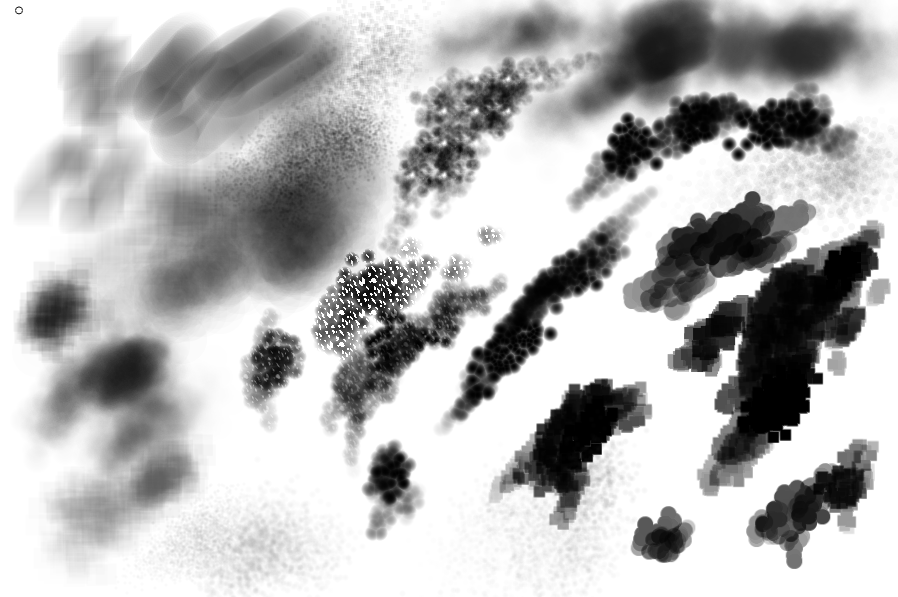
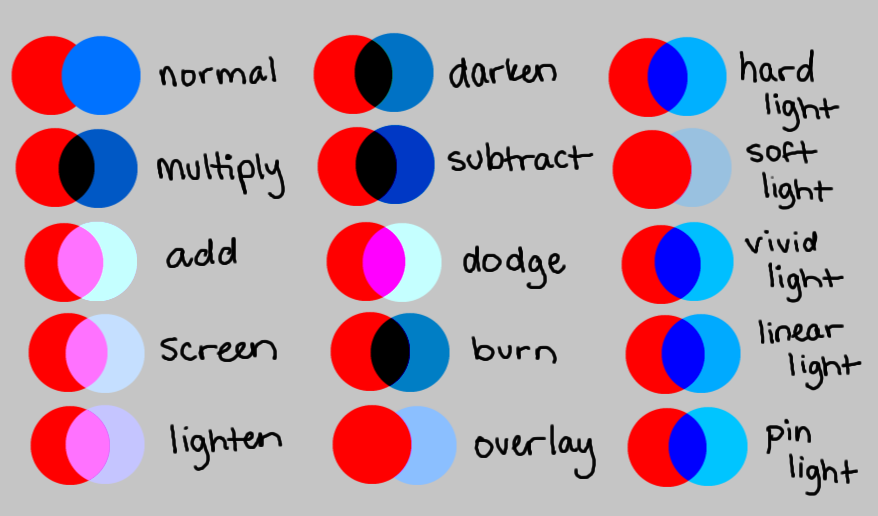
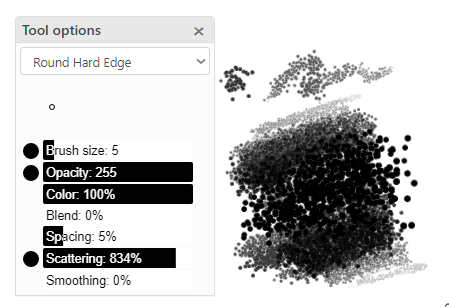
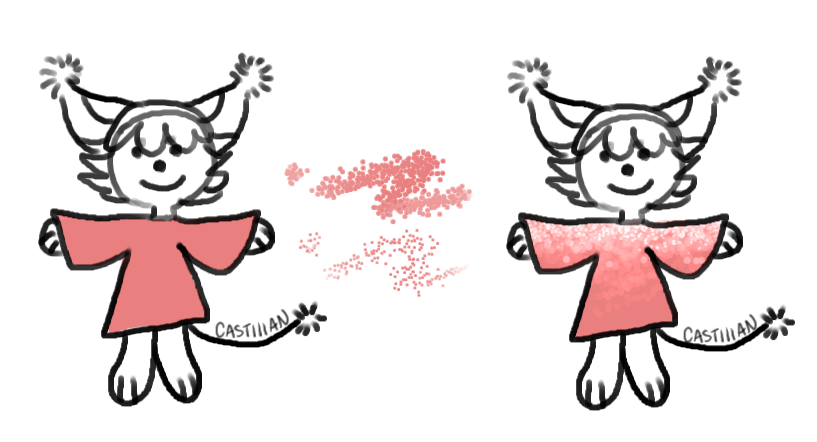
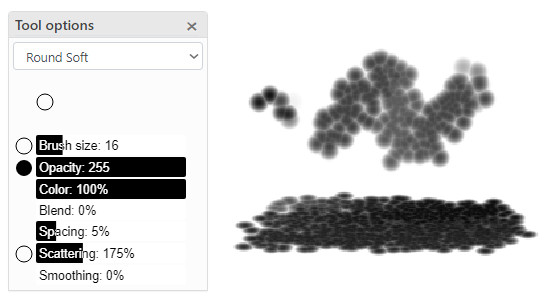
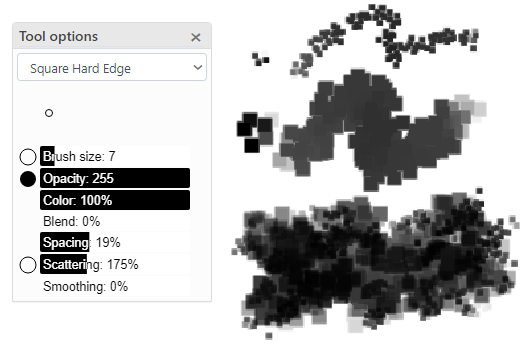
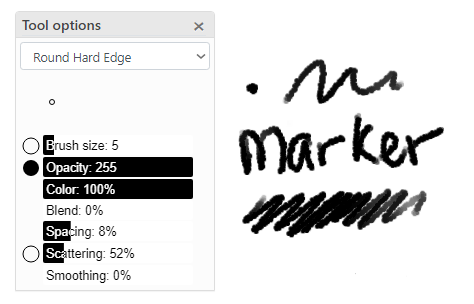
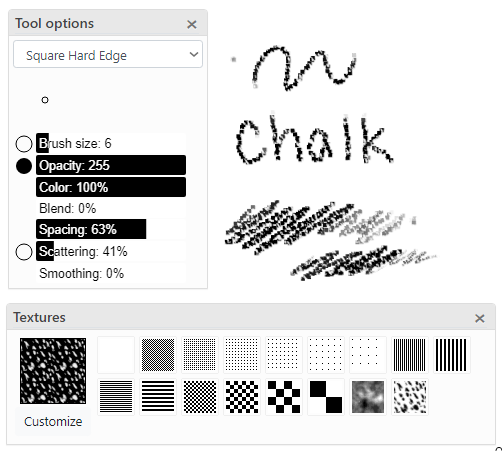
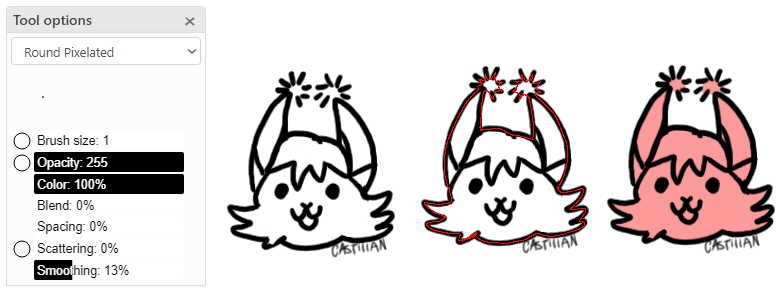
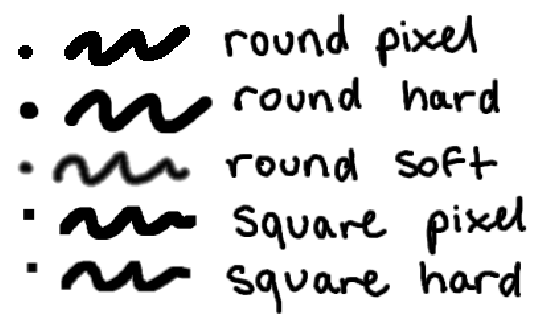
- techniques
- some fun techniques or brushes to try!
- frequently asked questions
- might answer some of your questions
- art tutorials
- browse user-made oekaki tutorials!
- original guide (made in 2011/updated throughout 2014)
- chickensmoothie oekaki wiki
- this guide provides a super in-depth break down of oekaki; but some parts might be a little outdated!
- oekaki frequently asked questions
- this frequently asked questions sheet might answer some of your basic questions!
- oekaki/java problems and solutions
- have a problem with oekaki? check out this thread for some help! if your problem isn't solved by the thread, chances are you've encountered a bug, and you should check out the help forums!
- oekaki settings page
- switch between the different versions of oekaki here! please note that "chibipaint" requires java; java support has been discontinued by many modern browsers! i suggest you use "chickenpaint 2.0", as it's the most updated version, and should give you the least amount of trouble!
- chickensmoothie's code of conduct
- this gives you a rundown of what you can and can't draw; a good rule of thumb is to keep your content child-friendly!
and if you have to ask if it is or isn't safe to post... it probably isn't okay. - oekaki rules
- here are the general rules of oekaki; the most commonly broken rule is...
your artwork should show intention and effort, we don't allow random scribbles, blank canvases, simple shapes
covered artworks break this rule the most; here's a quick cover guide! - oekaki art competition rules
- tldr, the most commonly broken rules are...
oekaki art competitions must either provide a lineart or a proper background
if the prize is a pet, you must individually link to each pet's page
- i've been linking new users the oekaki guide so they can yk get a head start and learn the program, but the original guide is so old.. it's not exactly accurate anymore, so i thought it was time to make a new guide! :3c
this thread is very much a wip, but i hope to have it fully up to date and full of info + even some techniques! as soon as i reserve a couple of posts, feel free to ask questions here! everyone is welcome to chip in with techniques or answer questions!! let's support our fellow artists and share our knowledge! >:3c
reference image/original meme
what's this guide for?
- this thread breaks down oekaki, chickenpaint, the fundamentals and some techniques!
it's also a space for users to ask questions and share techniques and tips!
this thread is big, so if you have a specific question, i recommend hitting ctrl f and searching a keyword!
thread index:
important links: (these are all off thread!)


 ||Fishy||Artist|| Adult||Sig anim by me||


